TechnicolorCosplay’s Krystal Behind the Scenes
TechnicolorCosplay, a relatively recent Krystal cosplayer who specializes in winter outfits, had a business trip out near me in Texas. We got together to talk cosplay and an idea was hatched to show off some of the behind-the-scenes knowledge about cosplays of this type. I have always had a fascination with how things work and the technical details of how things are constructed, so I hope you'll be able to share in that with me thanks to these photos and explanations. Also, for those of you interested in doing your own cosplay, perhaps this information will be helpful to you.
WARNING: I know from personal experience that some people get disillusioned when the fantastical nature of cosplay is broken by seeing behind the scenes. So if you want to keep cosplay somewhat magical by not knowing these details, feel free to skip the rest of this post.
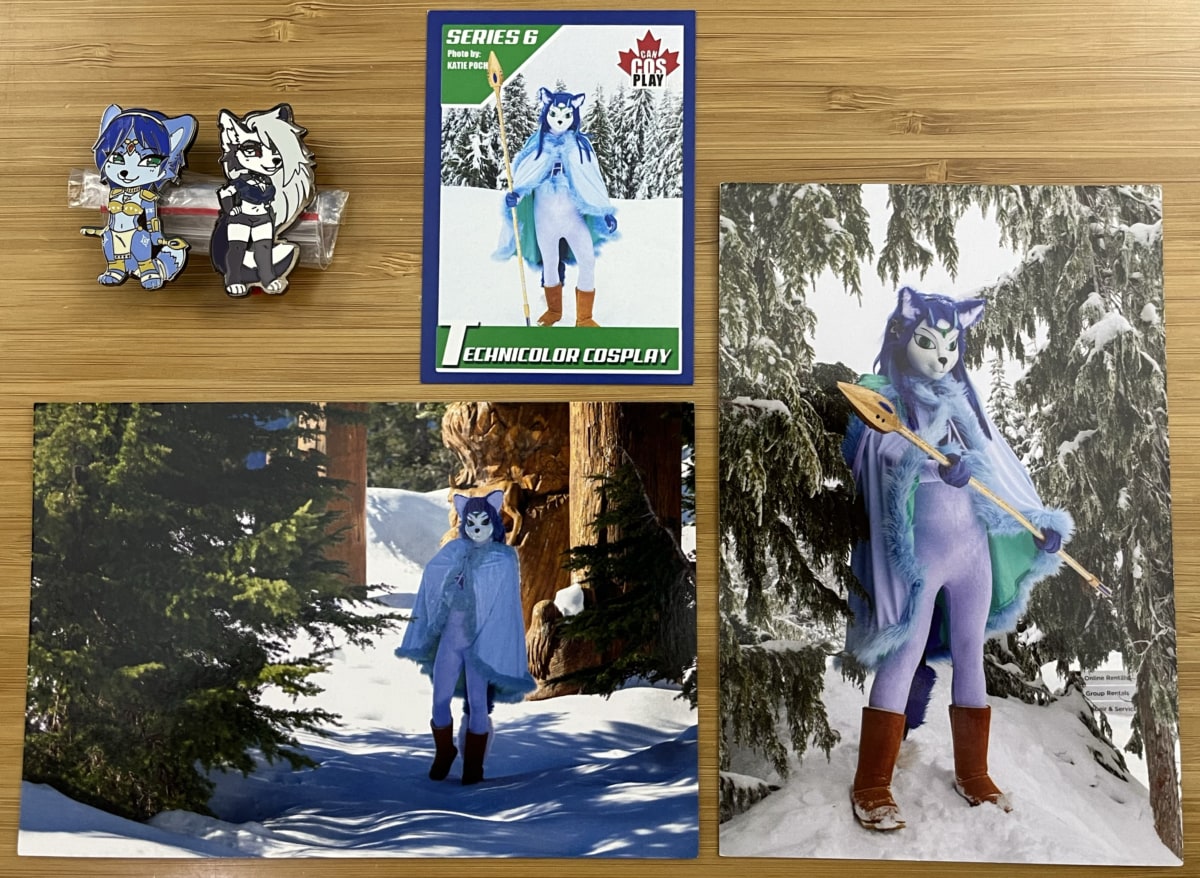
Besides Ayano Harumaki, TechnicolorCosplay is the only other Krystal cosplayer I have met in person so far. I enjoyed our conversations! Before we get into the details, I wanted to express my gratitude for the gifts that were brought along for me. I received a Krystal pin and a Loona pin made by NaysPinClub, aka Nayel-ie (who almost did a Krystal cosplay herself). I also received two postcards and a collectable cosplayer card; all three of TechnicolorCosplay's Krystal cosplay.
See more detail on any of these photos by clicking them.
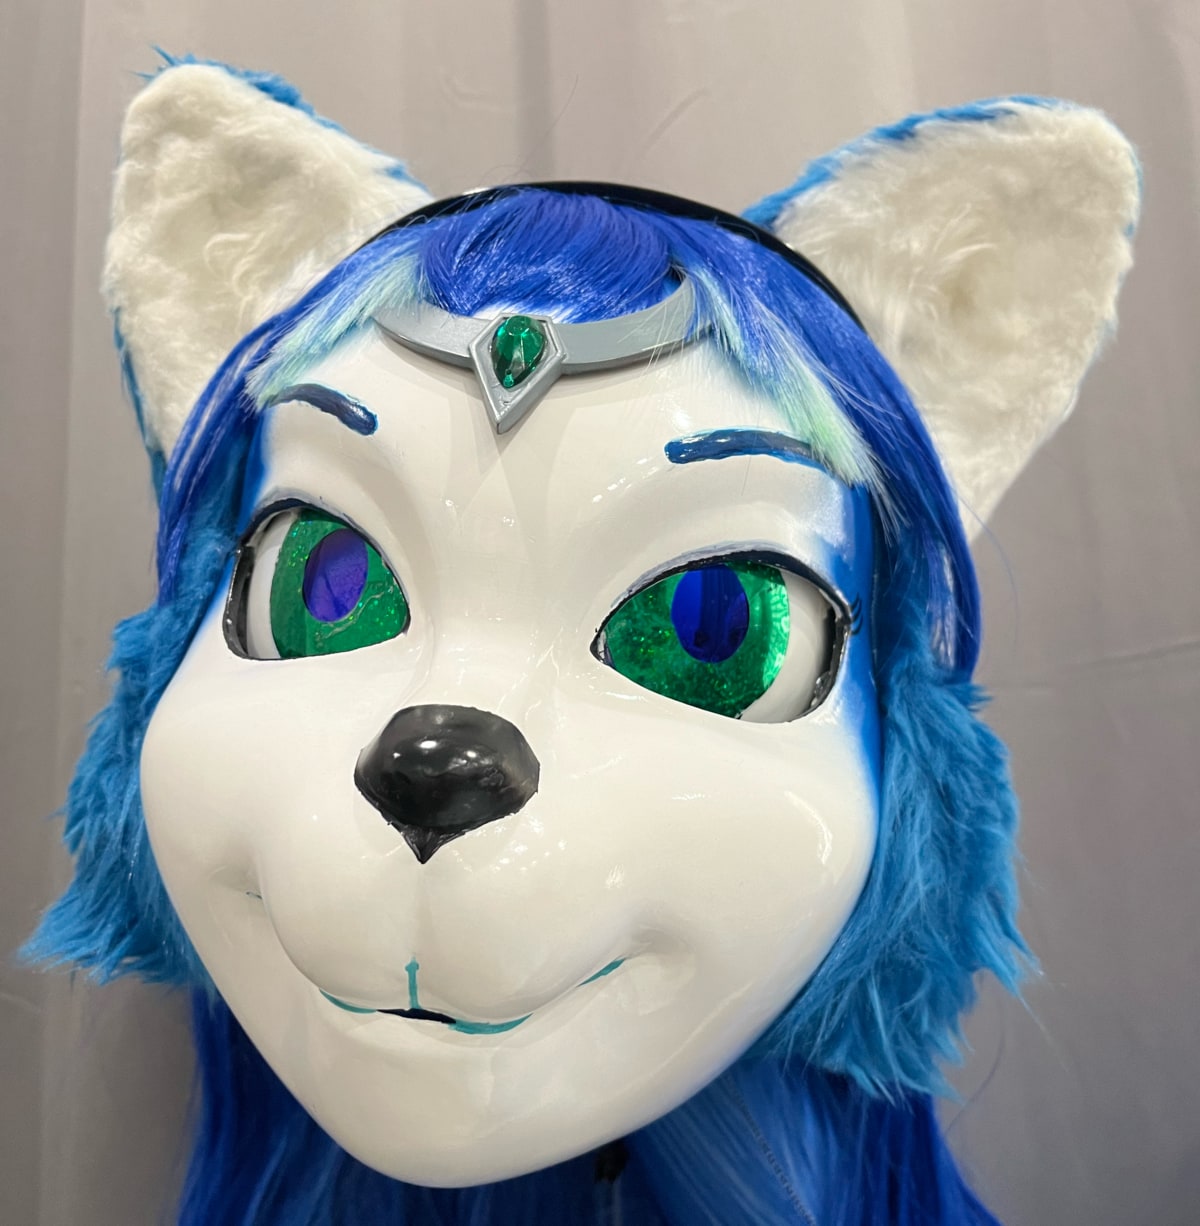
Let's start off with the mask. It was 3D printed and then painted. TechnicolorCosplay admits that its structure is more cat-like than fox-like, and there is a plan to completely redo it in the future. That includes a redesign of the wig hair as well.

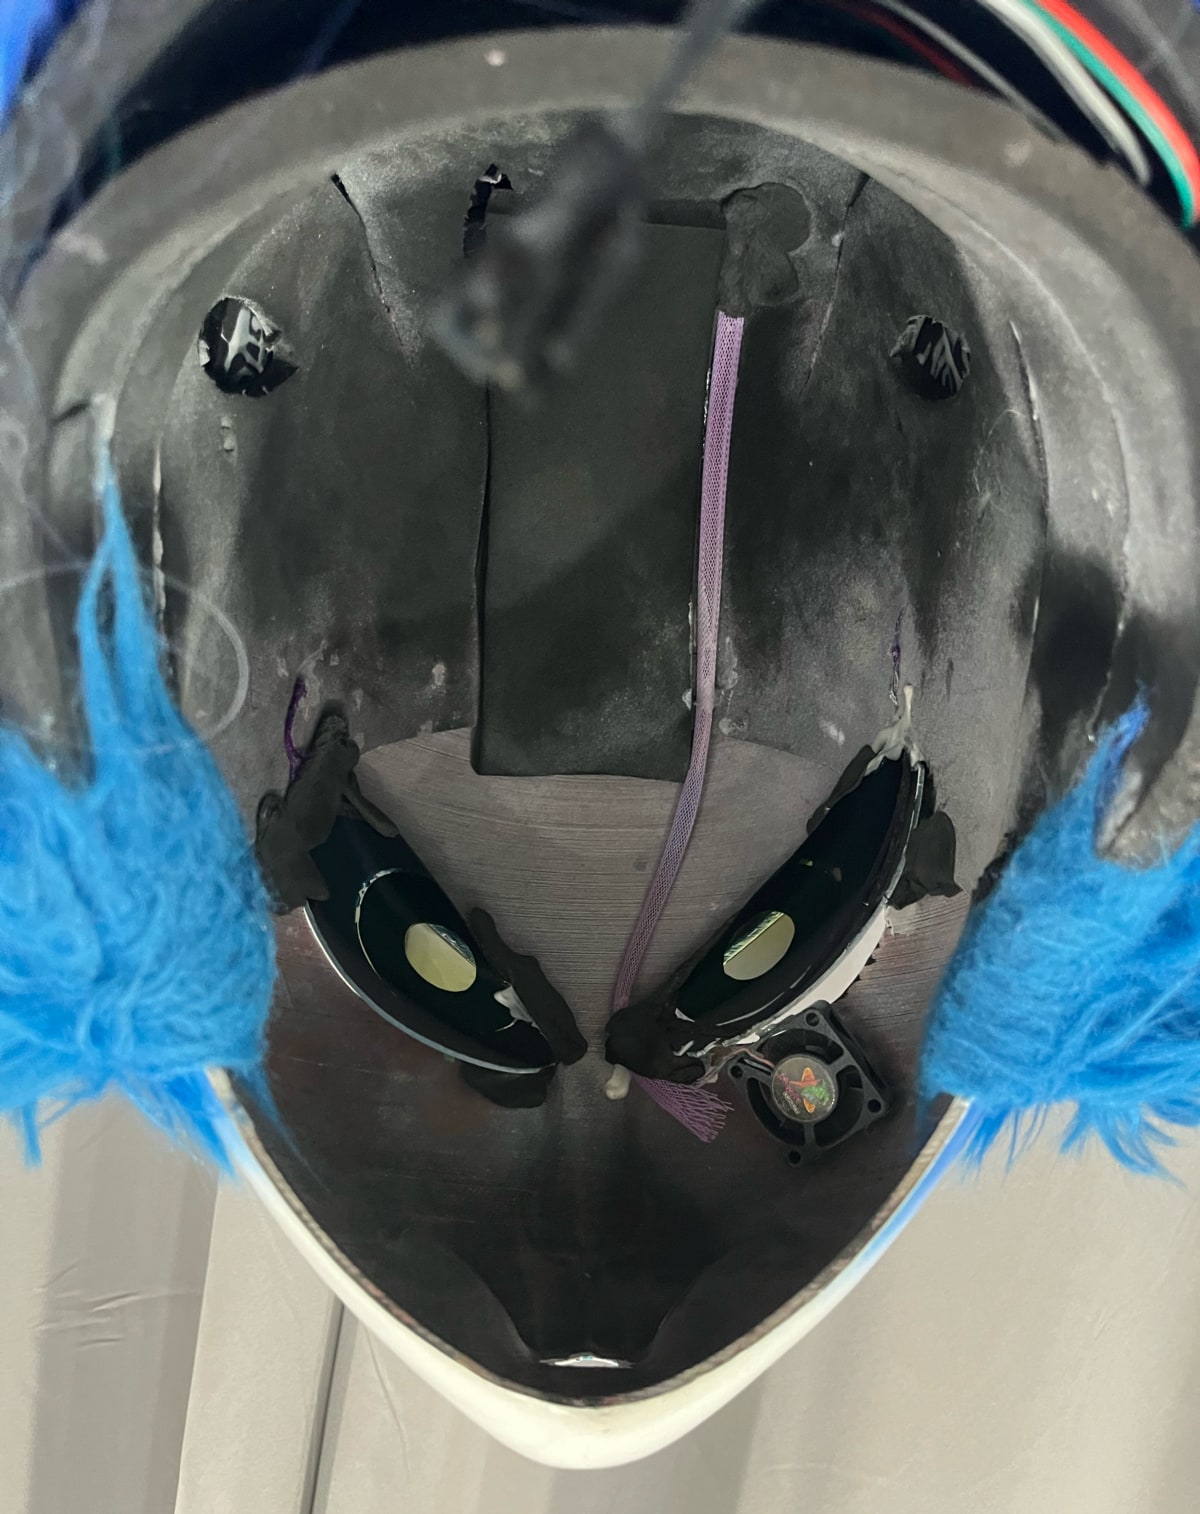
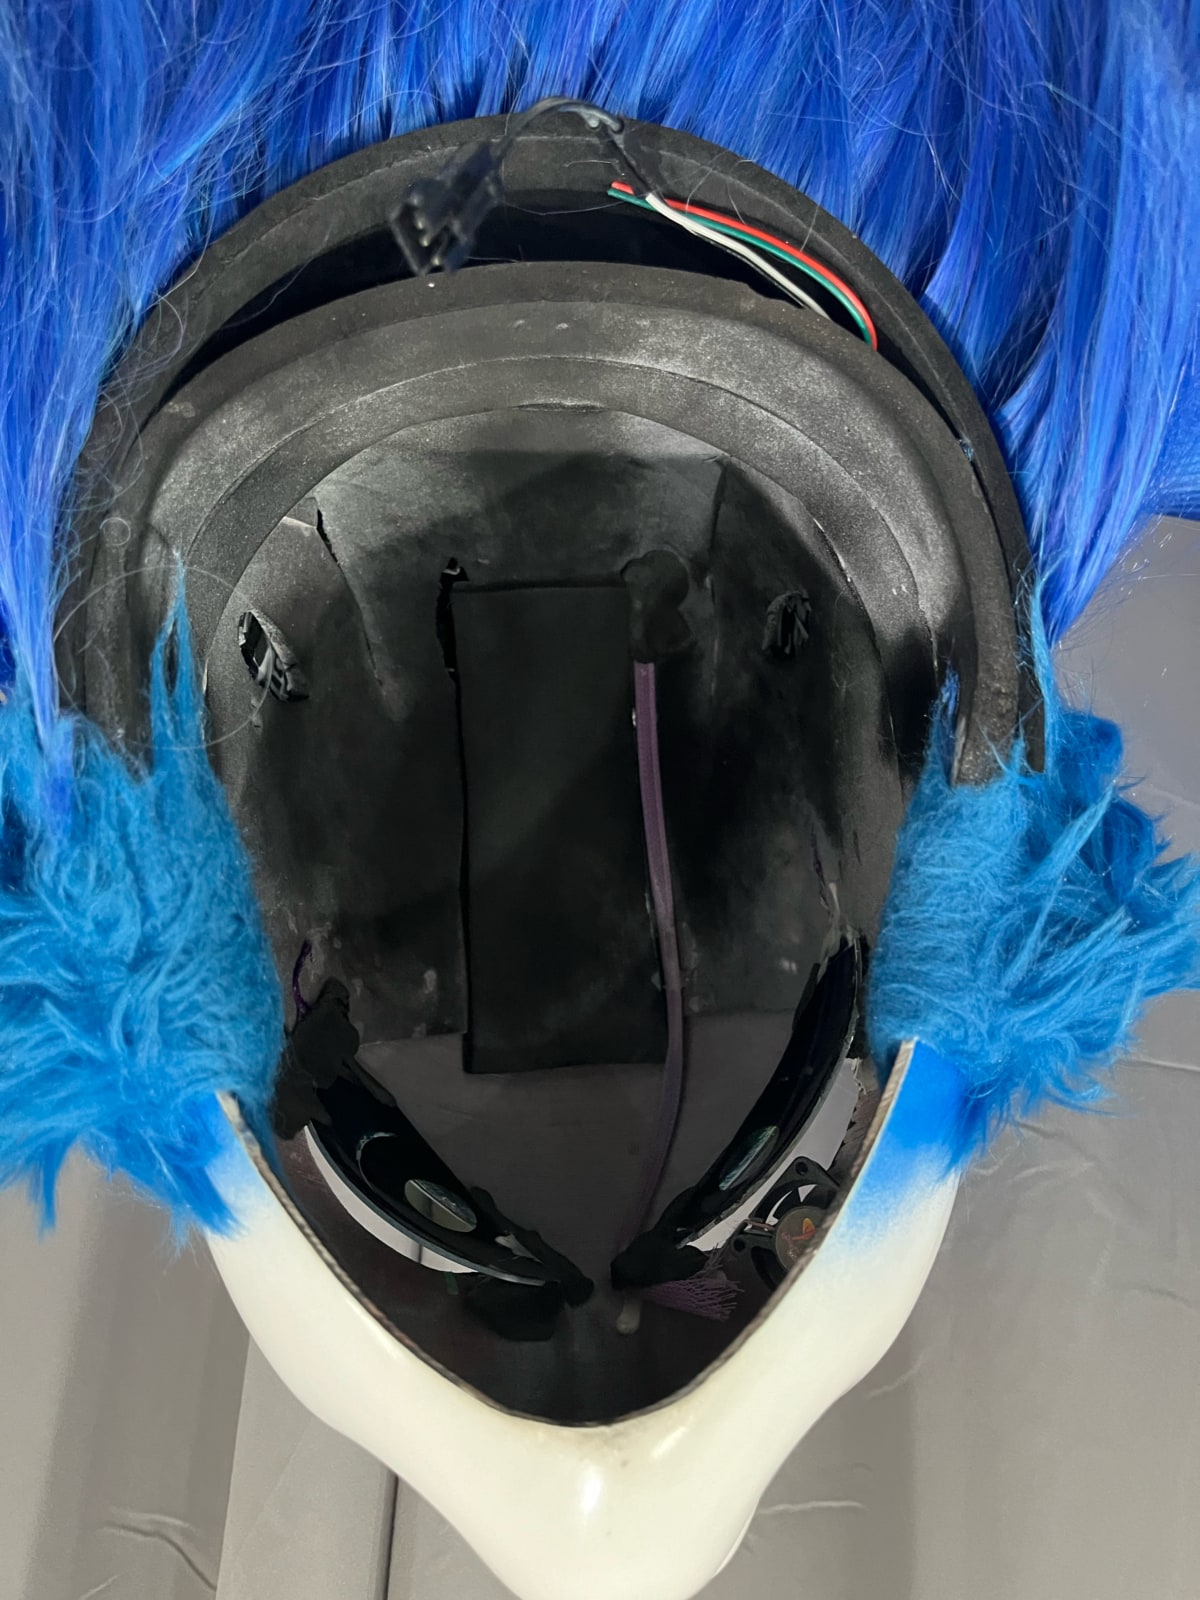
In the photos below, you can see the inside of the mask, which clearly show the 3D printing lines as well as the padding and wiring used to power a small fan (more on that later). The wiring would go to a small battery pack which was wedged in the slot between the inner head padding and the outer padding next to the hair. I attempted to try on the mask (for science), but alas, my brain is just to big to fit inside. Masks like these are not one-size-fits-all, it seems.
One other thing to note: If the inside material wasn't naturally black, you'll want to make sure that you paint everything black or cover things in dark fabric inside these masks. Why? Because if you use lighter materials, people will be more easily be able to see inside the mask due to reflections. By using dark materials, reflections are largely absorbed. Any attempt to see inside would just result in reflections (like a one way mirror) or just blackness, which is what you want. I've used this myself on one of my costumes in the past.
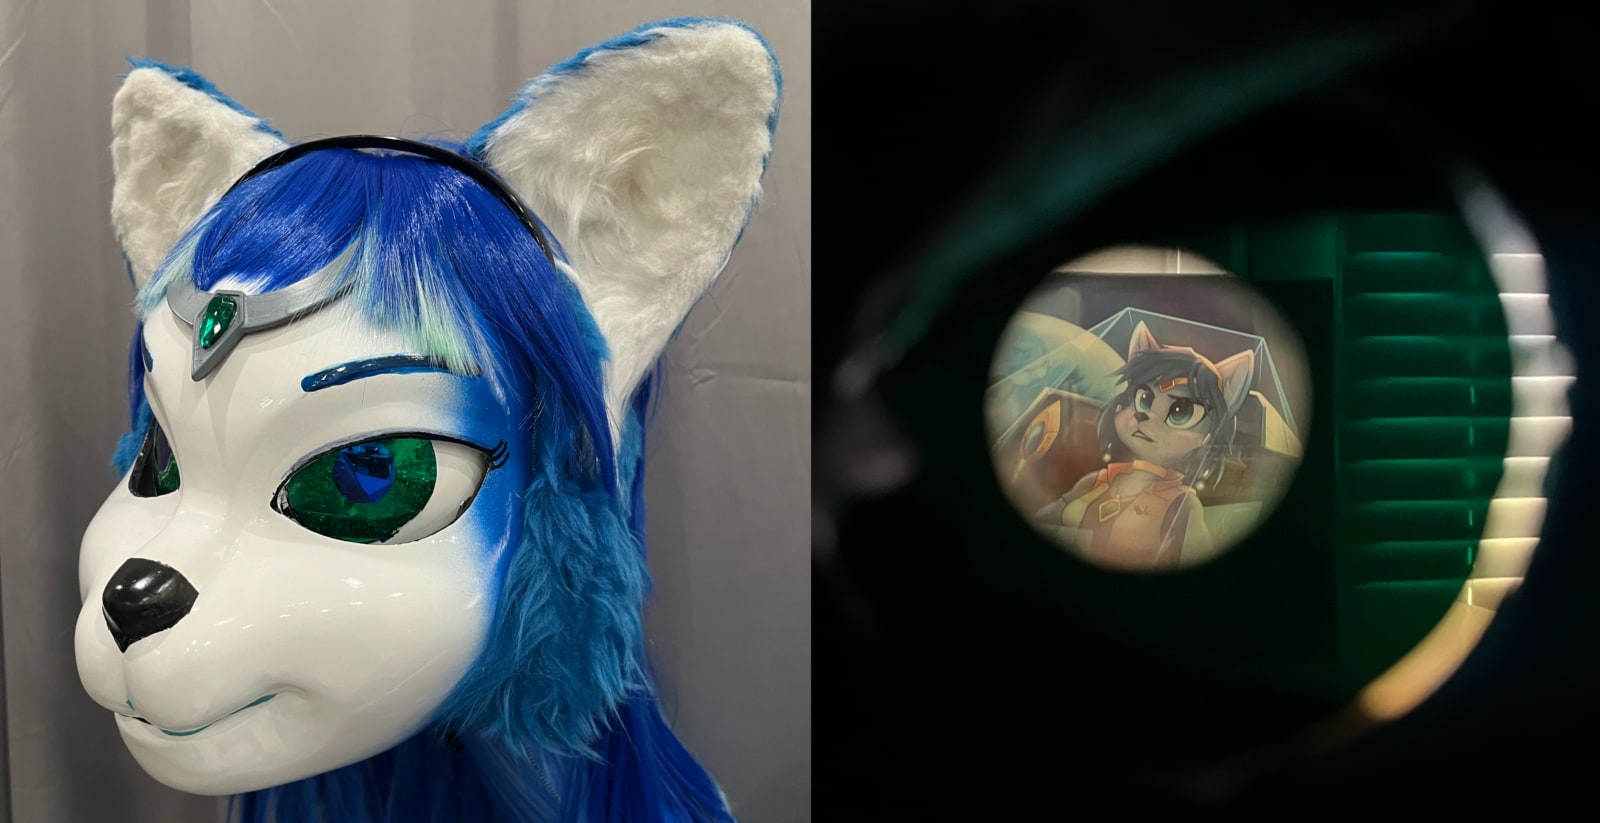
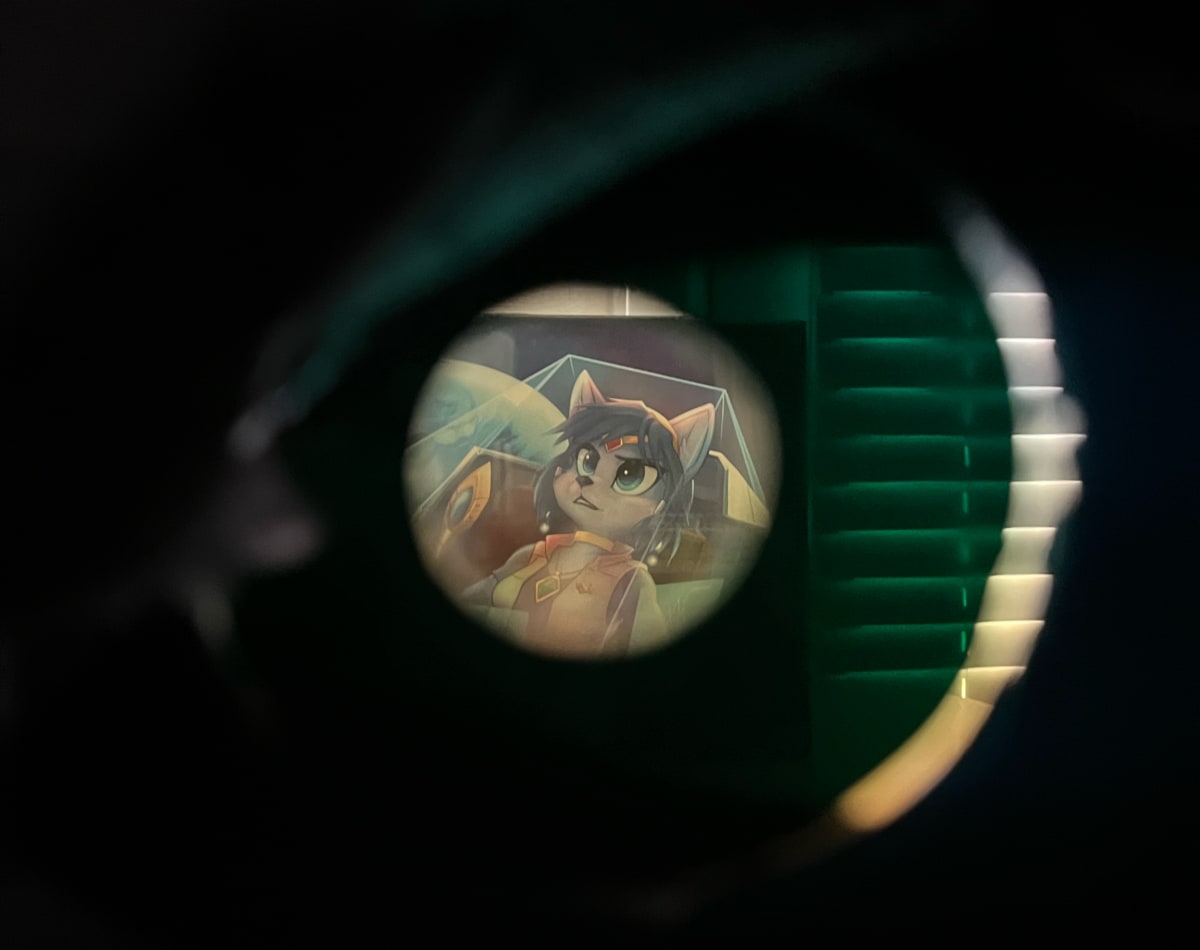
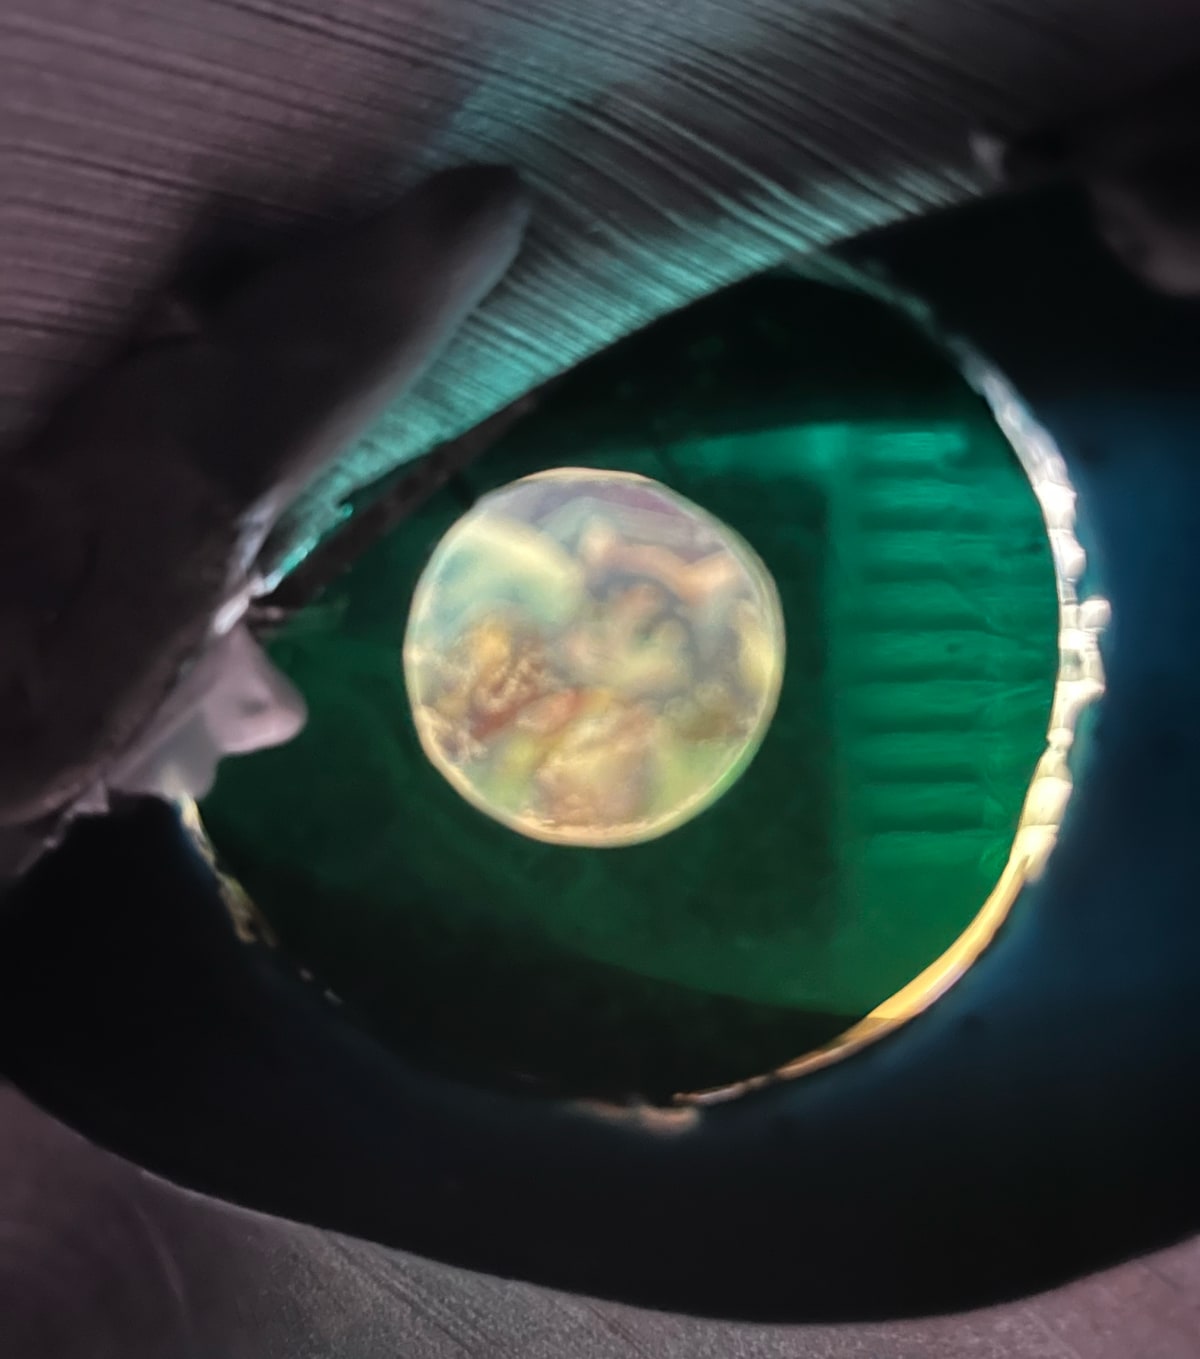
Unlike the typical Kigurumi Mask, this one allows vision through the eye pupils, rather than the more typical slits at the eyebrows or in the crease of the eyelid. You can see in the photos what it's like to see the outside world through Krystal's eyes. A pretty clear picture overall, if a little limited in the field of vision. The picture she's looking at is my Arwing Krystal commission by Hollulu.
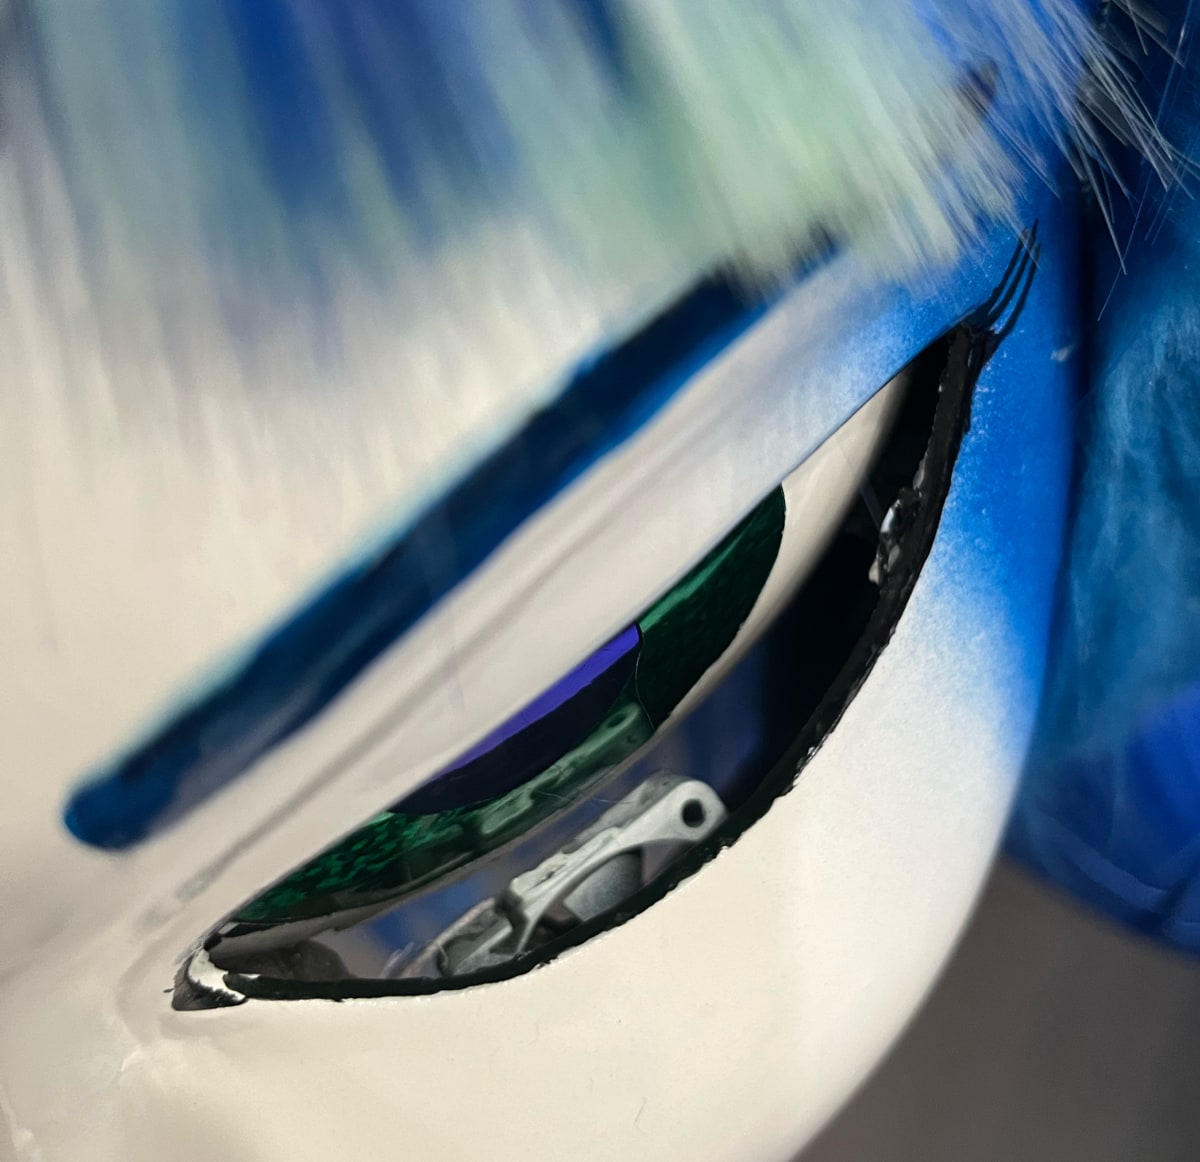
Focusing on the fan, the inside of these masks can get hot. TechnicolorCosplay used the angles available to have slits below the eyes where air can flow. One of these slits has a powered fan mentioned earlier. Due to the angle, most of the time you can't see these. Also, I'm told that the eyes were made by cutting up a ski goggle lens and then painting on top of it to create the eye structure and coloration. An added benefit of using an adaptive lens like this means that TechnicolorCosplay was not blinded by the sun when moving from indoors to outdoors. In brighter environments, they self adjusted their translucency like transitions lenses.
With the mask finished, there are just a few details I wanted to mention about the rest of the cosplay.
First off, if you hadn't noticed from other photos, the cloak used has custom ear-pockets, which are just so great. Adapting normal clothing to the anatomical differences of anthropomorphic characters is pretty neat.
Next, check out the close-up detail of the suit. It's a custom-printed zentai suit made to match Krystal's rough fur patterns, with her tattoos included in the printing. I like the use of fur patterning details throughout. Also note the hands and how they have a different color on the front versus the back. According to TechnicolorCosplay, the feet need to be adjusted so they don't get caught in the boots.
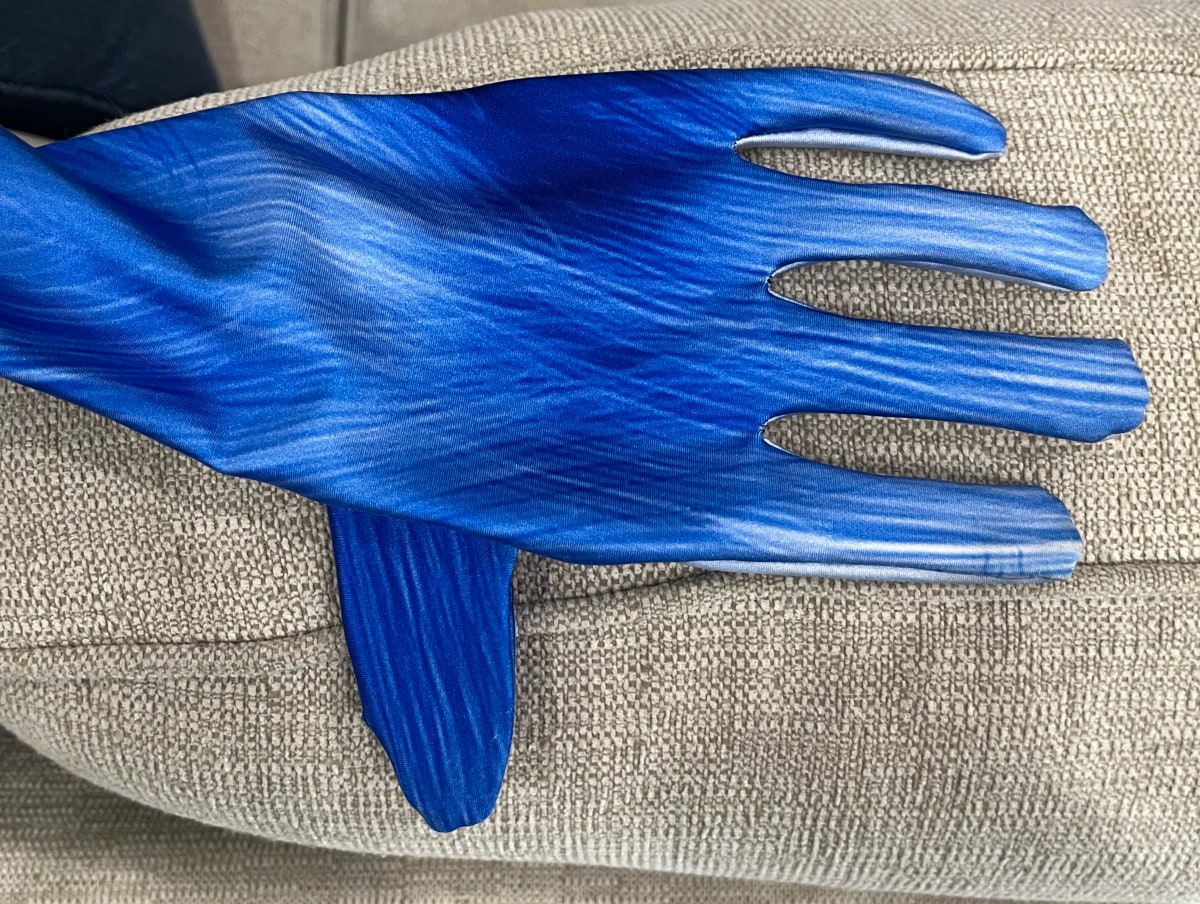
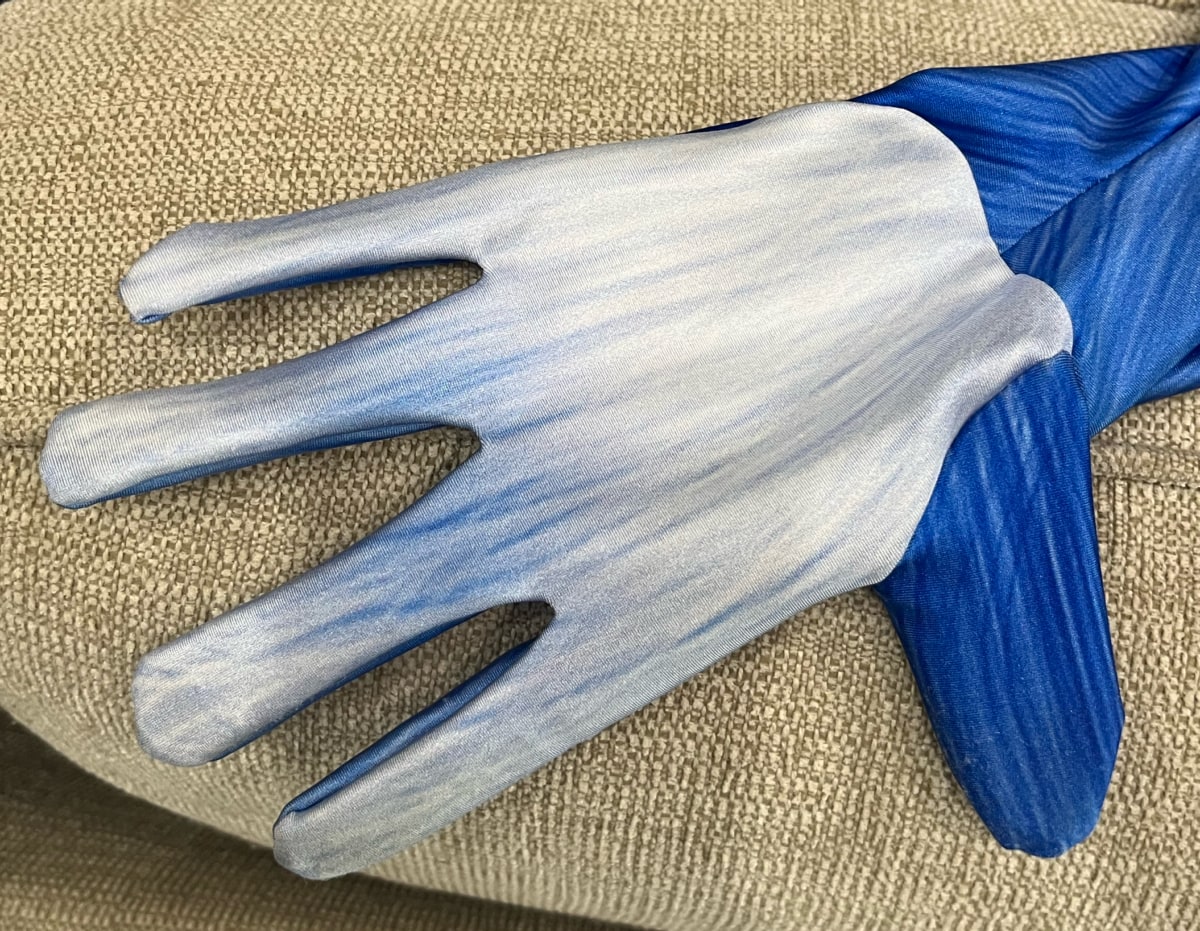
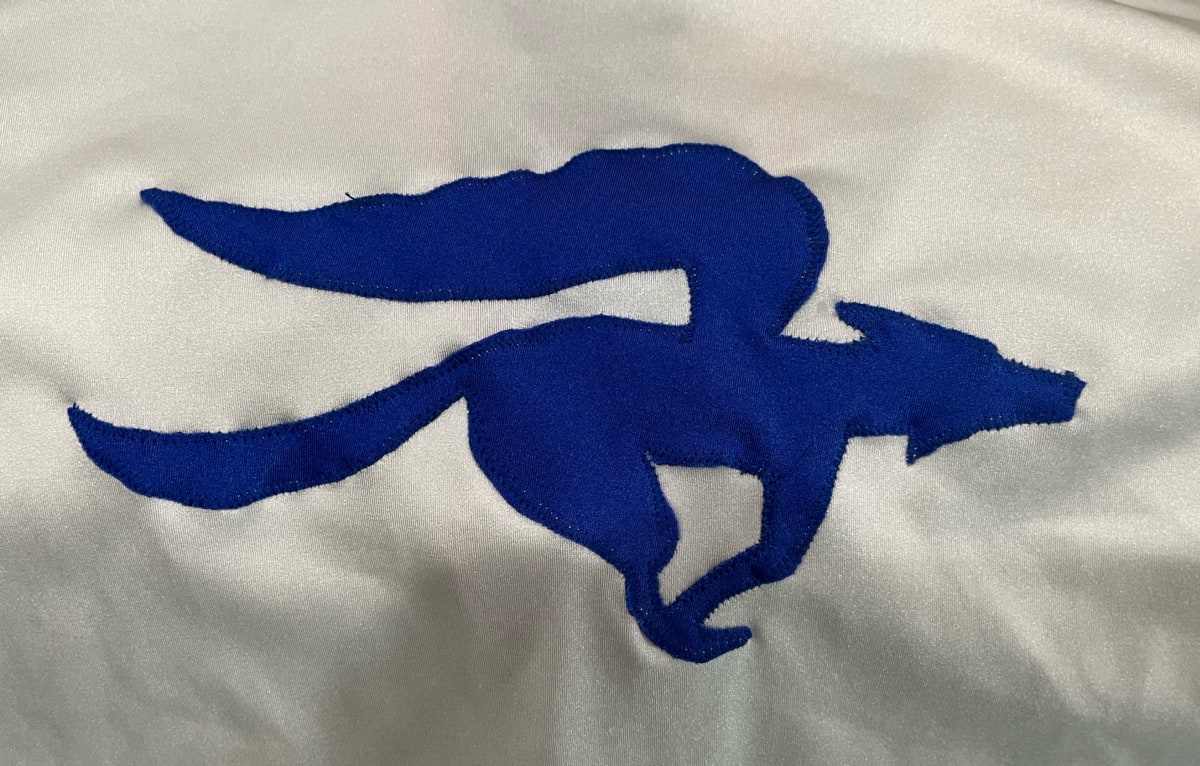
This zentai suit is worn as a base layer even when wearing the white winter suit on top. I'm told that because the white suit allows some light through, you can somewhat see the fur patterns underneath in certain lighting conditions. TechnicolorCosplay likes not "cheating" by foregoing the character suit under otherwise normal clothing. As a result, most of the time this cosplay is two or even three layers. In the wintery land of Canada, this makes the suit very comfortable, even in snow. Here's a close-up of the Star Fox emblem that is on the front of the jumpsuit.
There will probably be other modifications to the zentai suit in the future to allow the tail to poke through, which would be more natural to the character. Although this may prove tricky as it will require the back tattoo to be moved slightly.
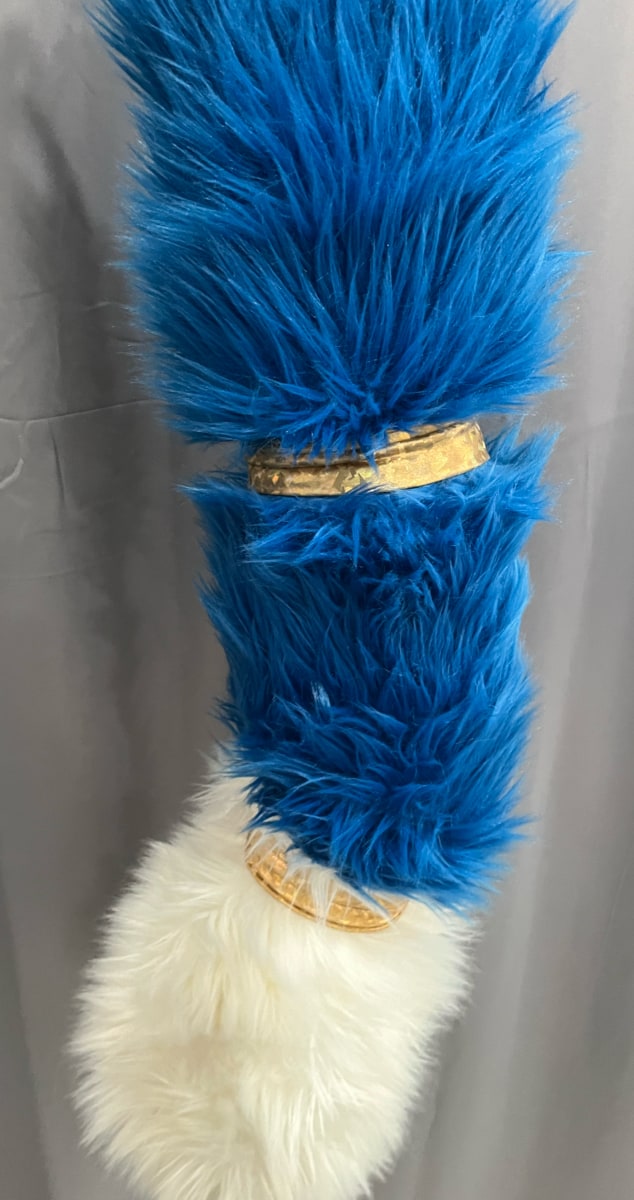
On that note, let's end with the tail itself. We have a couple of close-up shots here, as well as the simple belt structure used to hold it on. In the future, this will be underneath the suit, but for now, it's on the outside. TechnicolorCosplay is investigating redoing the tail to incorporate one of those robotic tail actuators so it will be able to move under its own power. That will probably involve redoing the outer tail itself too.

The last thing I'll say is that TechnicolorCosplay is already deep into a complete overhaul of the staff prop. But that's a story for another time.
Hope you enjoyed this insider look at one of the Krystal cosplays. Thanks to TechnicolorCosplay for visiting and letting me take tons of pictures!
Comments