Katina-Virus Invades Corneria
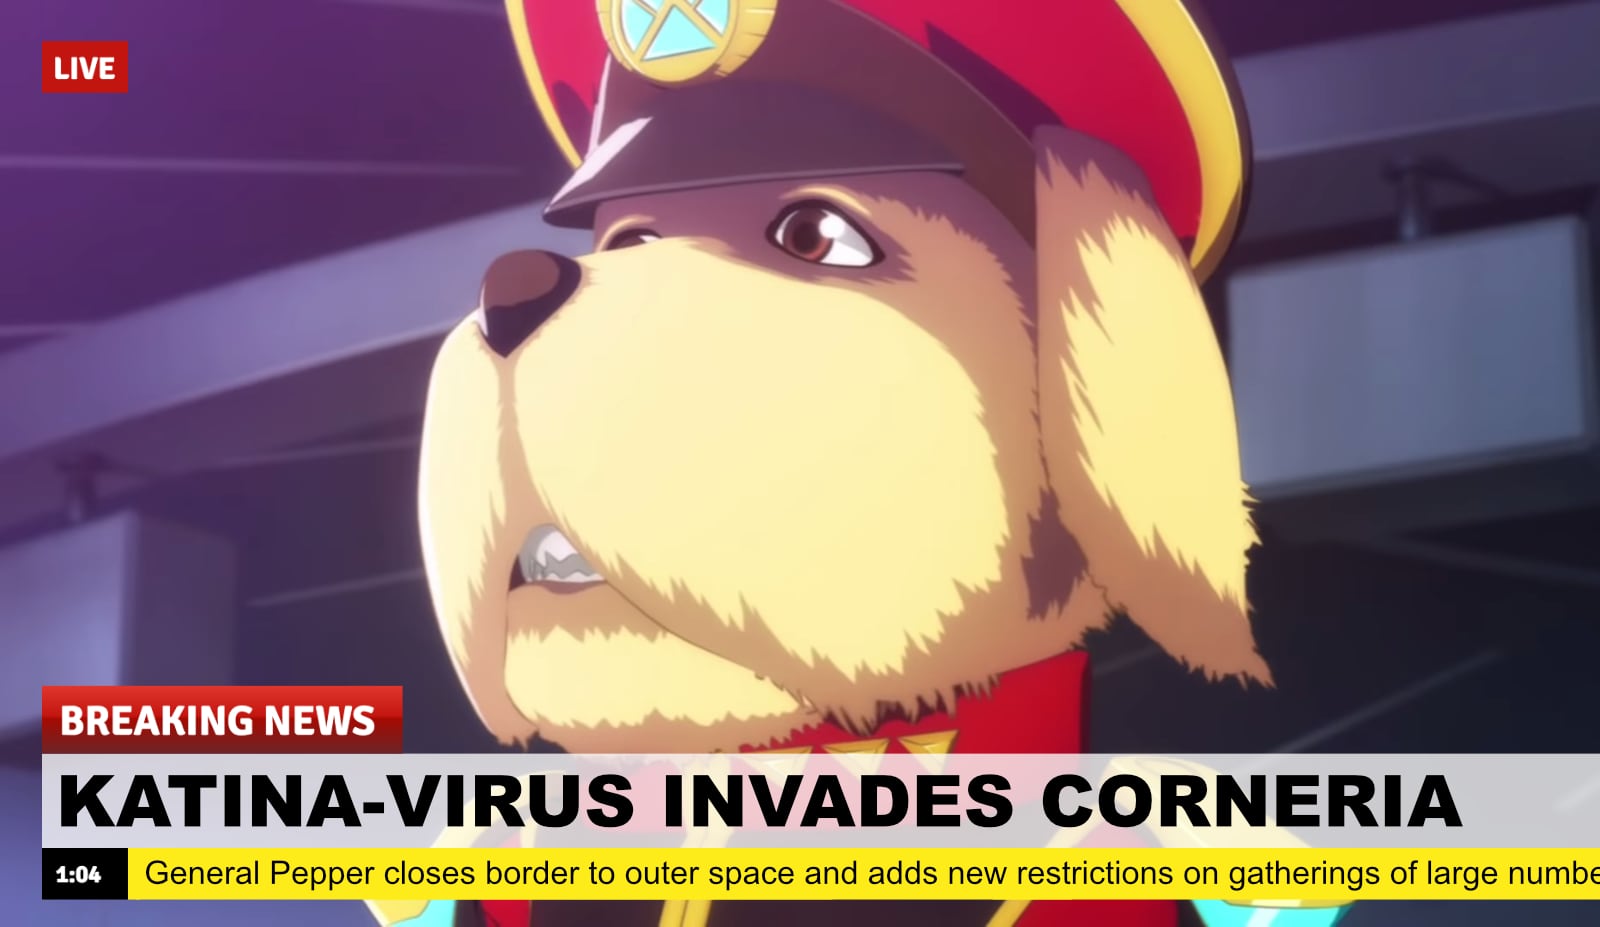
Corneria City, Corneria - Despite weeks of advance warnings and social distancing advisories, the capital city of planet Corneria has detected its first few cases of Katina-virus.
In response, General Pepper has ordered that all public gatherings be limited to no more than 10 people and has closed the planet's outer space borders. Similar rules have been instituted on other planets, notably Katina, the apparent origin planet of the new virus. No one is quite certain of the economic damages these restrictions will have on bustling cities like Corneria City, with the calm weather of this time of year normally enticing citizens to visit outdoor markets and restaurants.
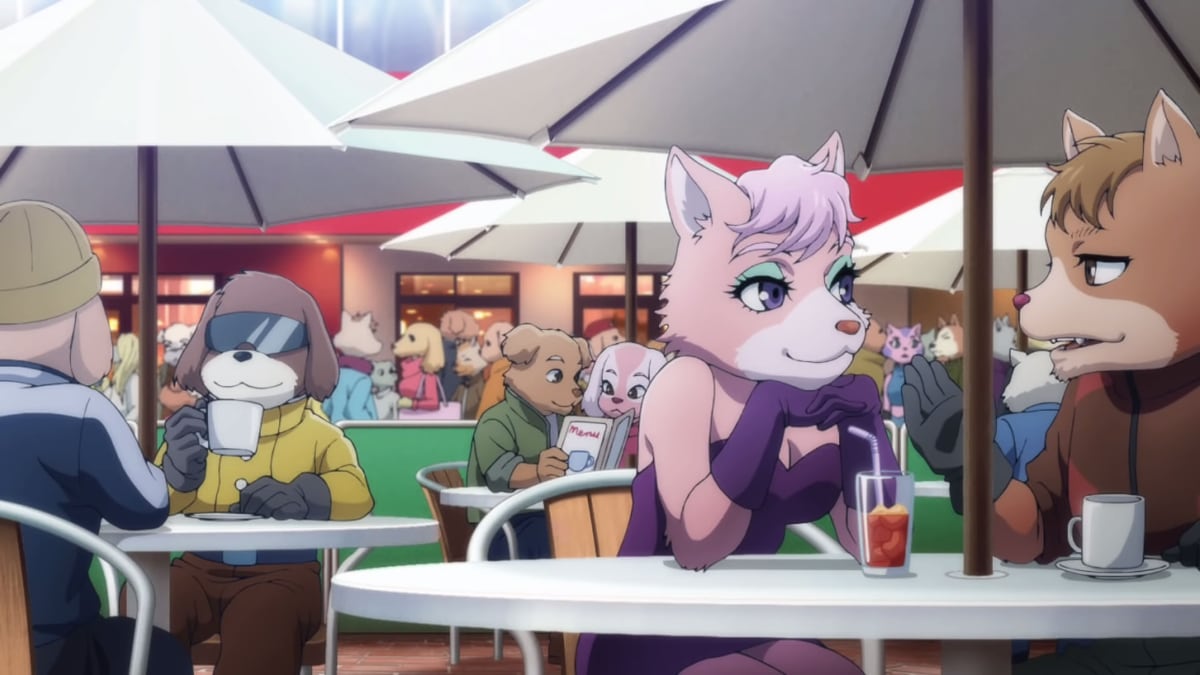 Gatherings like this are now banned until further notice.
In a press conference, General Pepper spoke about his options. "Normally, I would call on Team Star Fox to handle this situation, as they have been my go-to solution for cleaning up the Lylat System's messes. However, this disease appears to have come from space bats, not monkeys, robot bugs, or fish, so their expertise in this area is limited."
Critics were harsh, countering that General Pepper has never actually saved anyone from anything, and at least Star Fox might do something that mattered. As tensions continue to rise and with no cure in the near future, few clear solutions present themselves beyond basic disease prevention protocols.
General Pepper also asked that stores begin limiting bulk purchases of essential items to only the amount a person or household might reasonably need. This was in response to criticism of national hero and Star Fox team mechanic Slippy Toad posting photos of himself online, smugly showing off piles of toilet paper. The hashtag #PaperCaper has been used to tag similar showcases of excess.
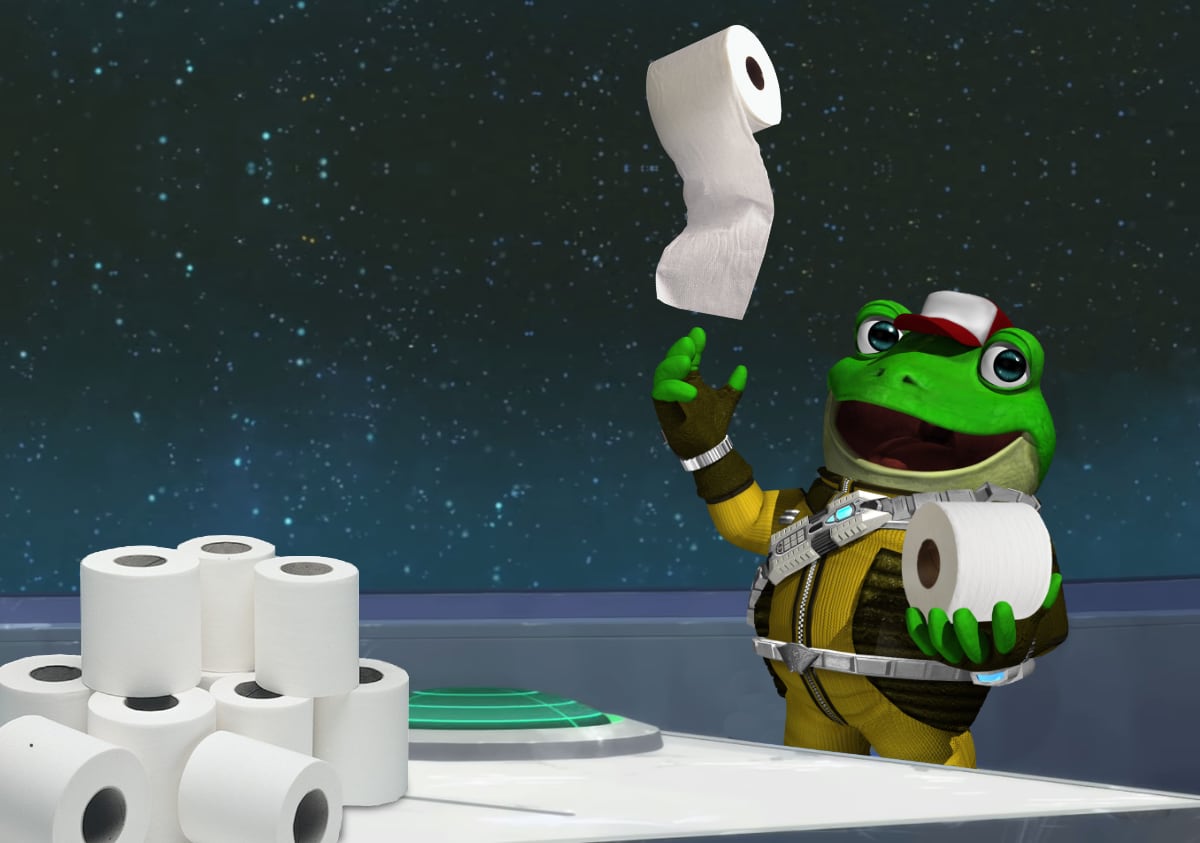 In a tone-deaf move, Slippy Toad single-handedly inspired the #PaperCaper hashtag.
It's not all bad news, however. Evil Scientist Dr. Andross has shifted all doomsday weapon production capacity to produce face masks and hand sanitizer. Insiders claim that he has pushed back his own invasion plans until he can be sure that all of his troops will not get sick before they can enslave the Lylat System. The Planet Venom itself has not yet had any reported cases of Katina-virus due to its existing travel restrictions as a military restricted zone for the past 4 years.
NYALICE Krystal Fursuit Progress
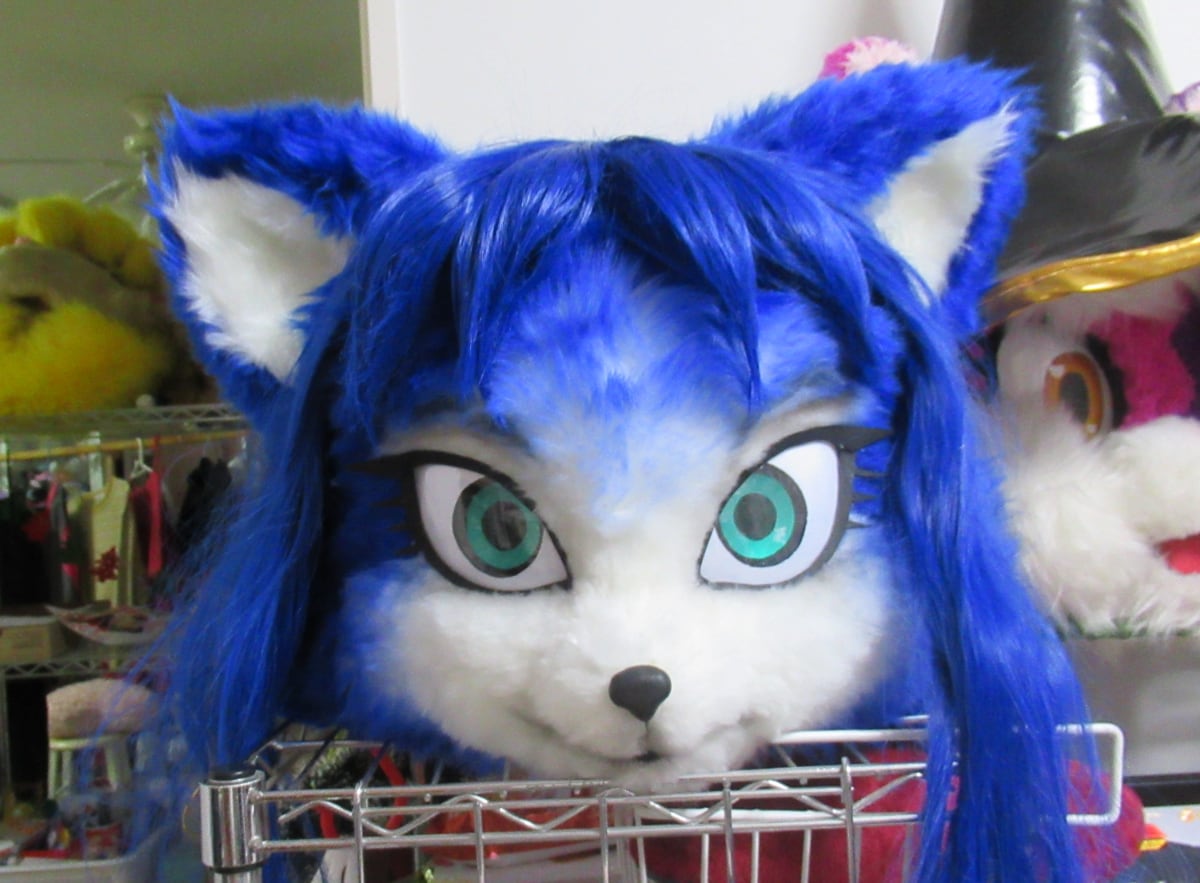
NYALICE has been making quick progress on the Krystal cosplay first discussed a few days ago. Since then, I was able to get into contact and found out some details about the project:
- It will be a full fursuit, not a partial suit.
- It is not a commission, but being made as a hobby for NYALICE.
- The build process is trial and error, but NYALICE estimates the head and body will be complete within a month!
- All the accessories, including outfits, staff, and sandals are planned.
- The head is so large that it requires two blue wigs to create the hair.
You can see progress in order:
Star Fox Battle Begins AMV
It's the classic Anime Music Video formula: Music + Anime. Jah Monkey created this synthwave music video with scenes from Star Fox Zero: The Battle Begins, an absolutely under-appreciated anime short if there ever was one. The song is called Lockout, made by Jah Monkey himself.
Krystal Pro Wrestling
This is some of the funniest stuff I've seen all week.
Wrestling games are famous for their character customization features, and this is no exception. It appears that YouTube user RainAllen14 has created a Krystal (and Fox) custom character in the 2D wrestling game, Fire Pro Wrestling World. No word on if he plans to demonstrate how he made the character or provide a way to download her.
The first match is a cage match, followed up by a normal ring match.
And then there's this tag-team match with Fox McCloud.
Low Poly Dinosaur Planet Krystal by Sky64

And the Krystal news keeps on rolling! Sky64 sent me a twitter message a day or two ago to show off his new low poly Krystal model he made in Blender. It's goal was to be as accurate to the in-game Dinosaur Planet model as possible. This model makes Krystal seem more like her Adventures age to my eyes, not that that's a bad thing! Anyway, go check out the full rotation video and more images at his Twitter account. Maybe he plans to release the model soon? (Hint! Hint!)
Generously Donated 3D Printable Krystal Bust
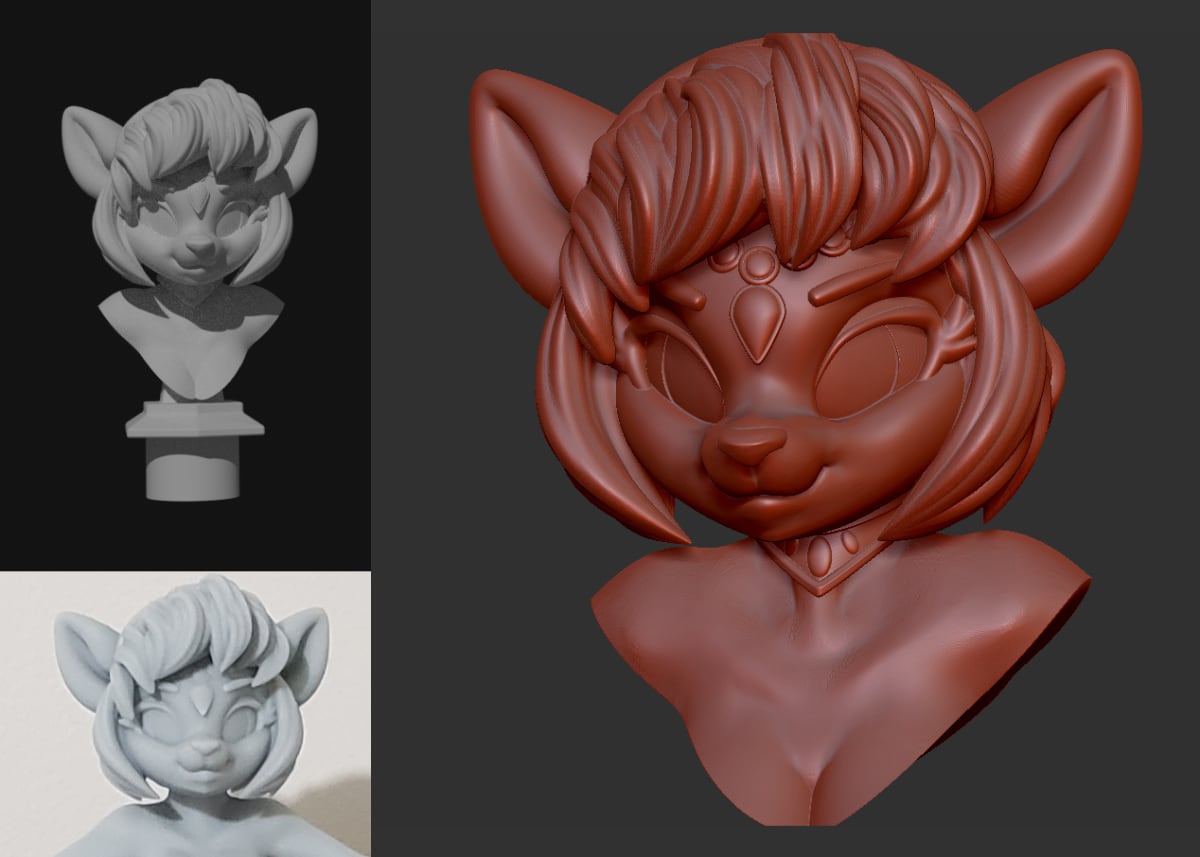
Now this is heartwarming. Kagekitsoon, who recently started a new anthro-focused 3D printing company, commissioned a detailed and dynamic Krystal bust, which he subsequently printed out using one of those very fancy resin printers like the one that was used to make the Krystal figure I recently received. Anyway, he had planned to sell 3D prints of the bust and keep the model to himself, but in light of the global isolation thing going on, he has generously allowed everyone to get the model for printing. You can download it and print it yourself for free! Thank you, Kagekitsoon!
For some background, the bust model, and the accompaning stand, were both digitally sculpted and prepped for 3D printing by v747, a prolific My Little Pony 3D sculpter.
If you're feeling similarly generous, try tossing a few bucks to Kagekitsoon who commissioned her and/or support the artist v747. Additionally, I suspect that Kagekitsoon would still be willing to make you a high quality 3D print of this Krystal model if you wanted to support him that way. You'll have to contact him yourself about that, however.
I have already downloaded the model to see how it looks in my 3D printing software. I can confirm it's a very high quality model with no apparent issues preventing a clean print, except for the fact that her face is very complex and has a lot of overhangs (something that is difficult for the typical FDM printers to handle well). Still, with some reorientation, I think I can get a very clean print out of it, we'll see.
Thanks to CommanderD for the heads up!
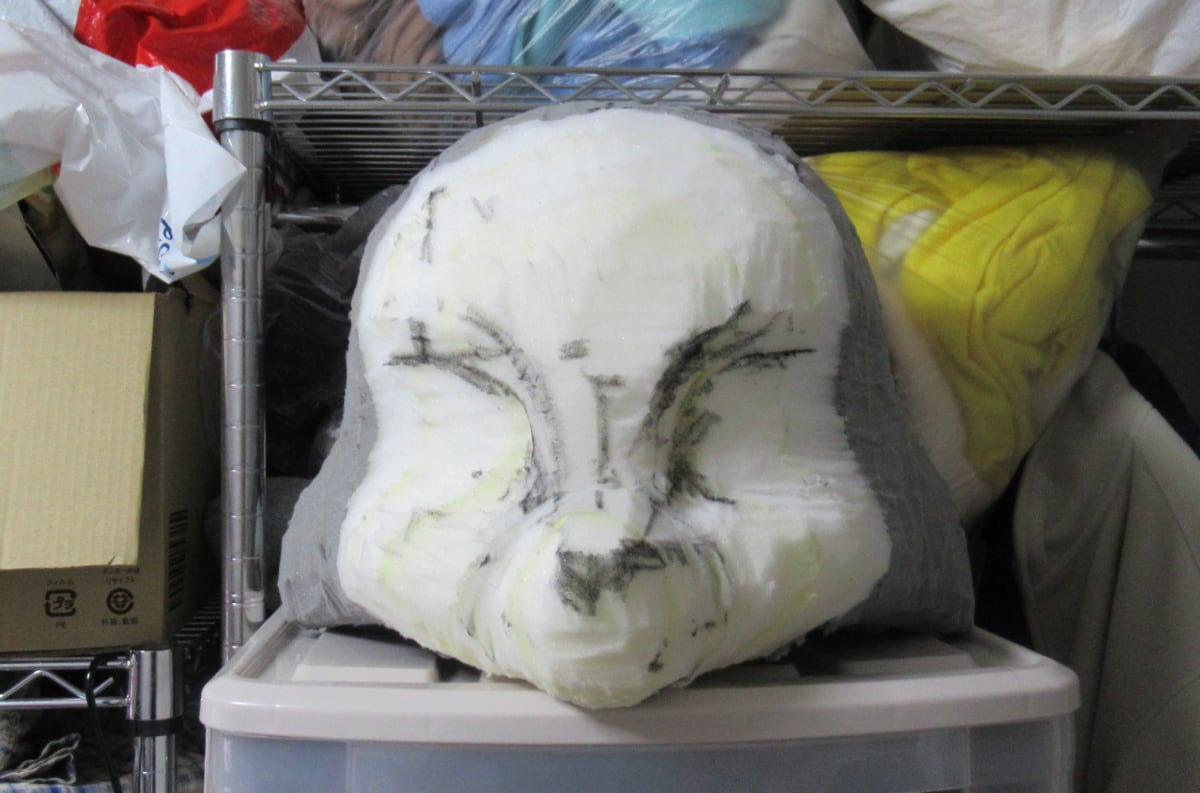
Detailed Krystal Fursuit in Progress by NYALICE
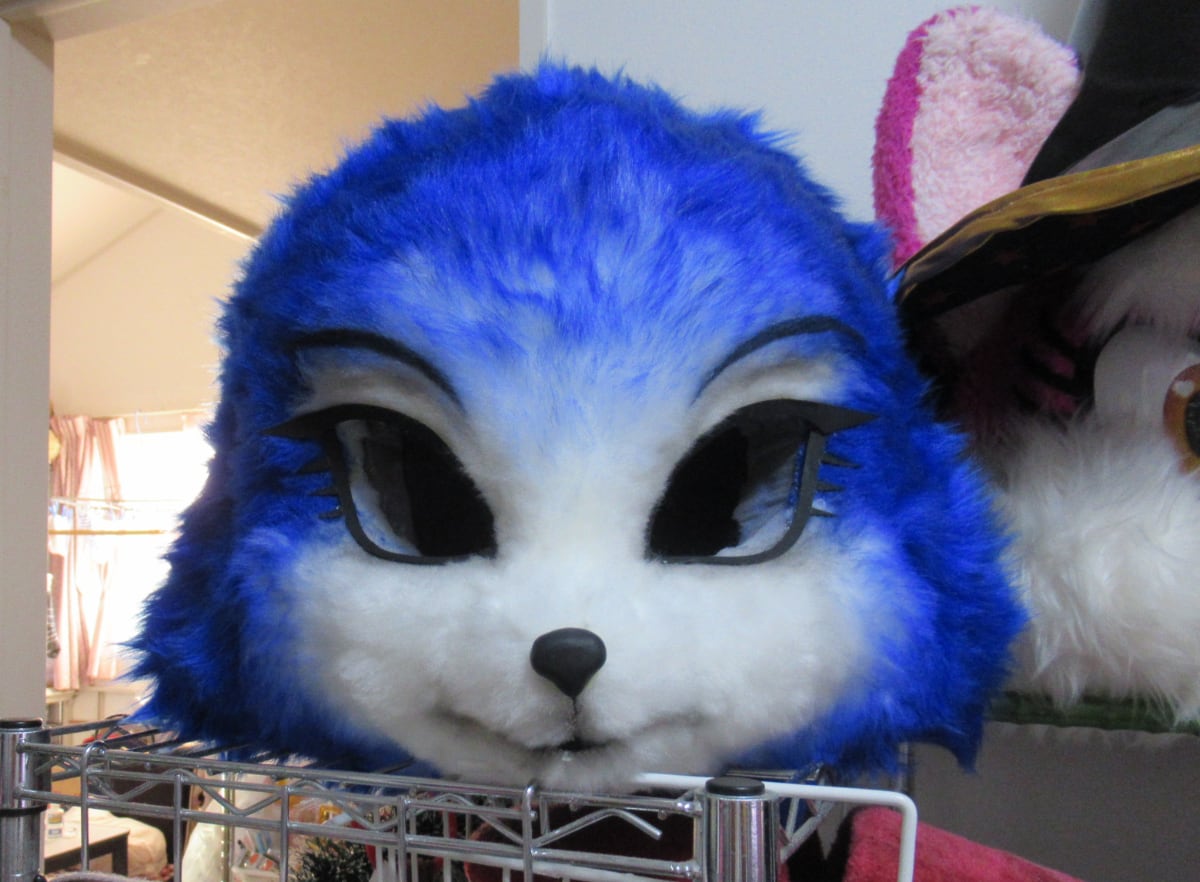
Thanks to Dane Solar, I discovered that Japanese costume-maker NyarolMyarroll ( NYALICE(にゃりす) ) is in the process of making a Krystal costume. At this time, all I've seen are the photos listed in this post. No idea if this is going to be a full suit or a partial suit. However, the shape and fur work on the head is very good. It will be interesting to see what Nyalice does with the eyes. I think they will have to be see-through, or use the tear-duct technique. I'll be following up with this one to find out what the costume will be and if it is being made for a commissioner or for Nyalice.

The posts about the costume are here, here, and here (I think).
Krystal in SSF2 Compilations
Speaking of Super Smash Flash 2, it released on Valentines Day and since then, people have been beating up all of Nintendo's cast of characters with one of the new fighters: Krystal! That can mean only one thing: compilation and competition videos. The one above by Inari is a combo video, exploring how someone might chain her different attacks against opponents.
Below, here's a 5.7 second run of "Krystal's Break the Targets!" Minigame by barchun.
Here's another combo video. This one is much more instructive with on-screen info on what's happening. The video is by Q-tips.
In addition to Break the Targets!, there is also another mode involving breaking crystals. Very appropriate for Krystal. Anyway, here's MaySeaOh's 28 second run.
Want more footage? There's tons on YouTube. Or, you can download the game free and make your own. Play as Krystal like you always wanted!
Krystal Staff Project Part 3 – Finished Mockup Tips and Inner Shaft LEDs
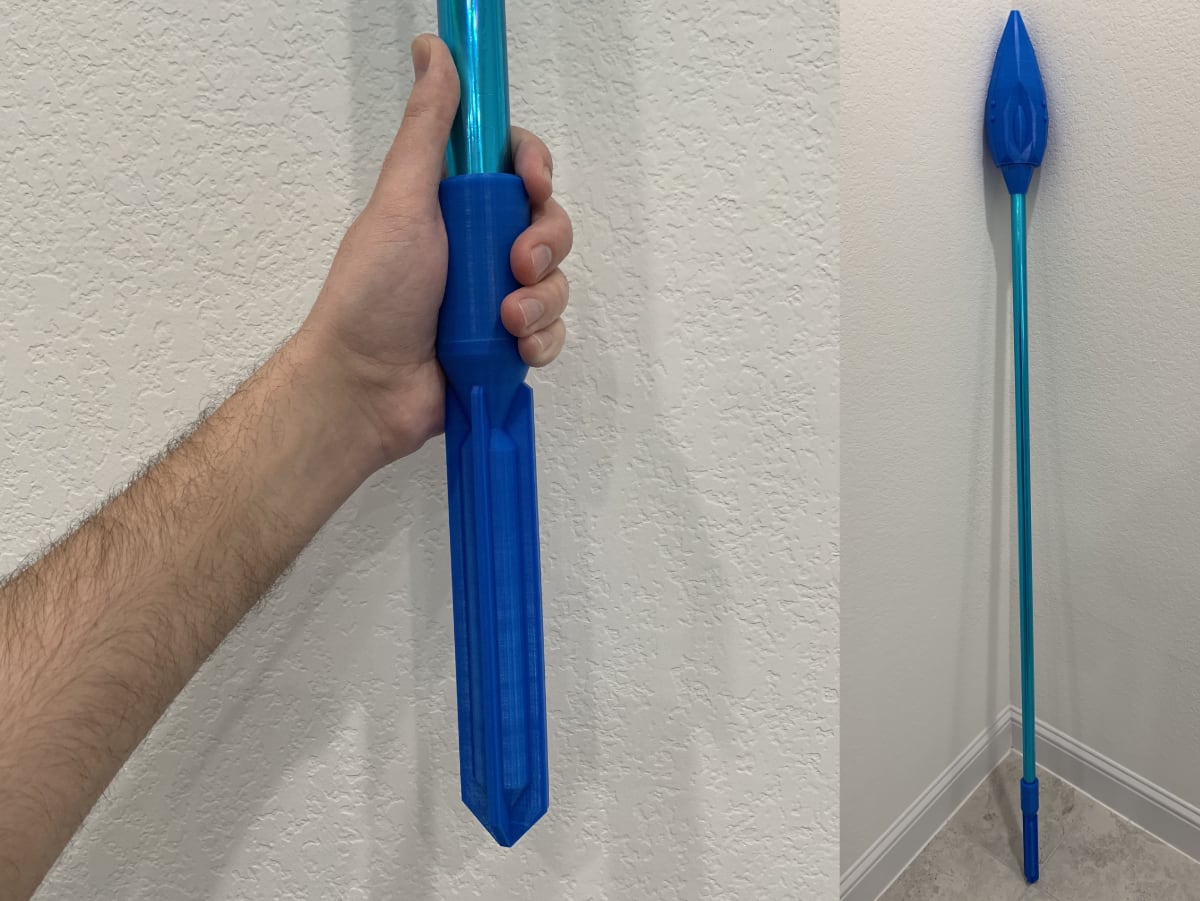
In my month of absence, I wasn't just sitting around. I finished implementing the bottom tip mockup in 3D, which required a complete recreation from scratch due to how unsuitable for 3D printing the original model was. I also printed out a second set for a Krystal cosplayer who wanted 3D prints of the two tips. If you want your own set, I'm still offering to print these two tips for $40, plus shipping.
I spent a lot of additional time looking into more lighting solutions. The company who made the prototype Lightpaper never responded. However, I did find that there are that are lots of LED strips theoretically thin enough to use inside a tube with room to spare. It just came down to figuring out which one. I looked at dozens and dozens of options, before settling for now on a 3mm wide strip with 3014 SMD LEDs that are only 10mm apart. The strip is about 1mm thick, well within tolerances, and probably the thinnest you can get without ordering directly from Chinese factories. And bonus, they're cheap too! I managed to get about 32 feet of them for about $50. By my calculations, for the final product, I'll need roughly twice that much, but for now, this is sufficient for testing.
These things are so incredibly small! It's hard to appreciate how small they are using the stock photos on the websites. Check out the strip next to a more normal size LED strip and a normal AA battery.
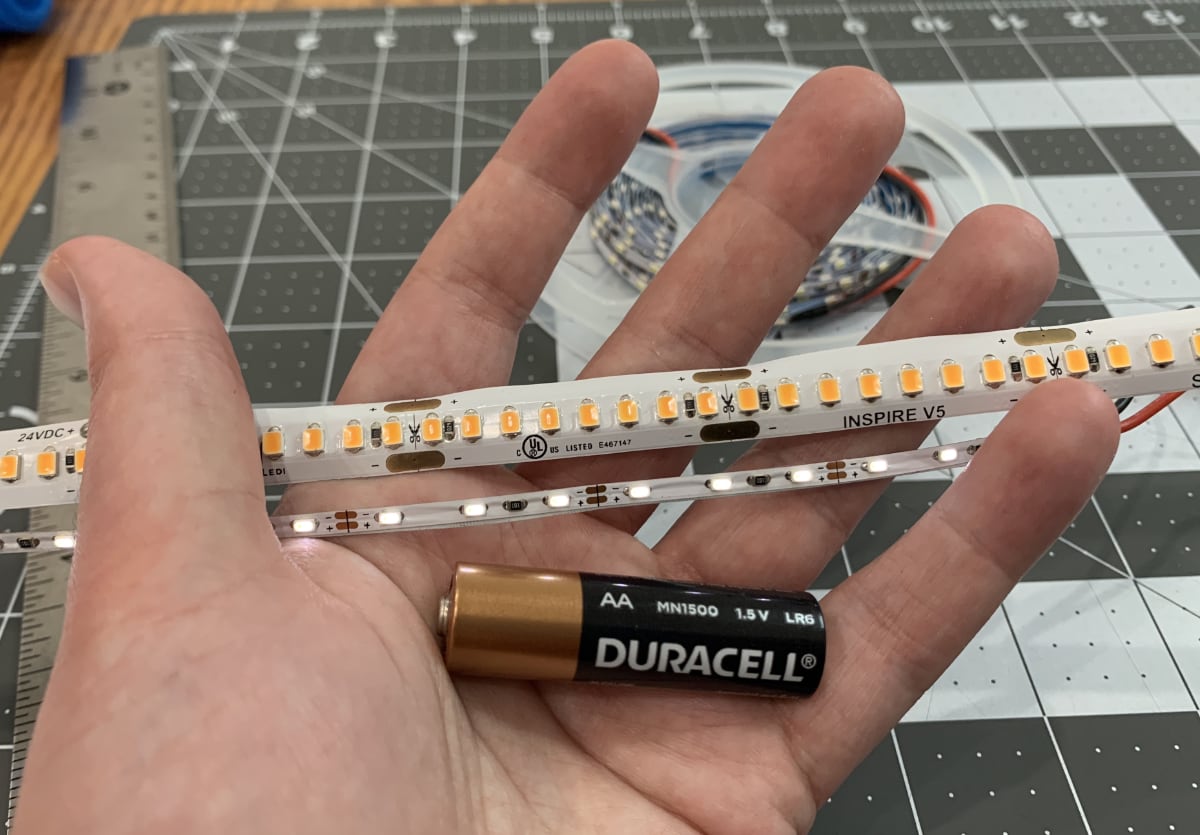
As for power, though they are 12 volt LEDs, I was able to get them to put out reasonable amounts of light at just over 7 volts. That means I can power an entire strip with just a handful of batteries, if all goes well. The next step will be to create a column of these LEDs around a central core and get that to light up. That will show off what it will look like for the final product. It's not a perfectly even distribution of light, but with a checkerboard pattern and some glass-frosting techniques, I think I can make it appear very even. Below is my tentative setup. I think I'll use a little time this weekend to do some soldering.

The white material below the shaft is some various light transmission and diffusion materials I scrounged from out of dead TVs. Not sure yet if they will be helpful to this project.
Custom Krystal Model for Star Fox 64 by Icsbonkun
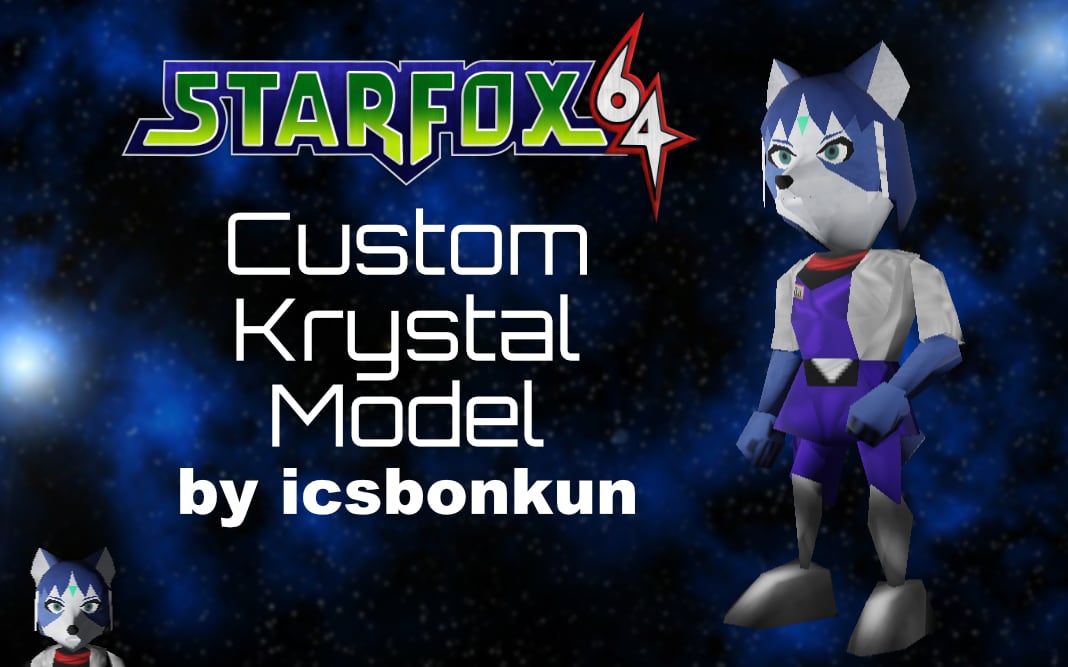
Well this is a surprise. User Icsbonkun has created a new, low-poly Krystal model that matches the Star Fox 64 style very closely. It's far more accurate to the game than the Krystal 64 model by The Regressor I had commissioned. Unlike that one, this one could probably be patched directly into Star Fox 64 without much modification. Seriously, is someone manages to do that, let me know. I'd love to see what she looks like in-game. In the meantime, you can download the model and check out more info at The Models Resource.
Background starfield by Donnerlittchen